

Jak wyregulować rower dziecka
You don't need to be a bike mechanic to set up your child's bike correctly. You need 5 minutes, an Allen key, and a tire pressure gauge. This is everything you need to know.
Tools you need
- 4mm and 5mm Allen keys (usually included with Banwood bikes).
- Tire pump with pressure gauge (any cheap floor pump works).
- A clean rag.
That's it.
Saddle height — the most important adjustment
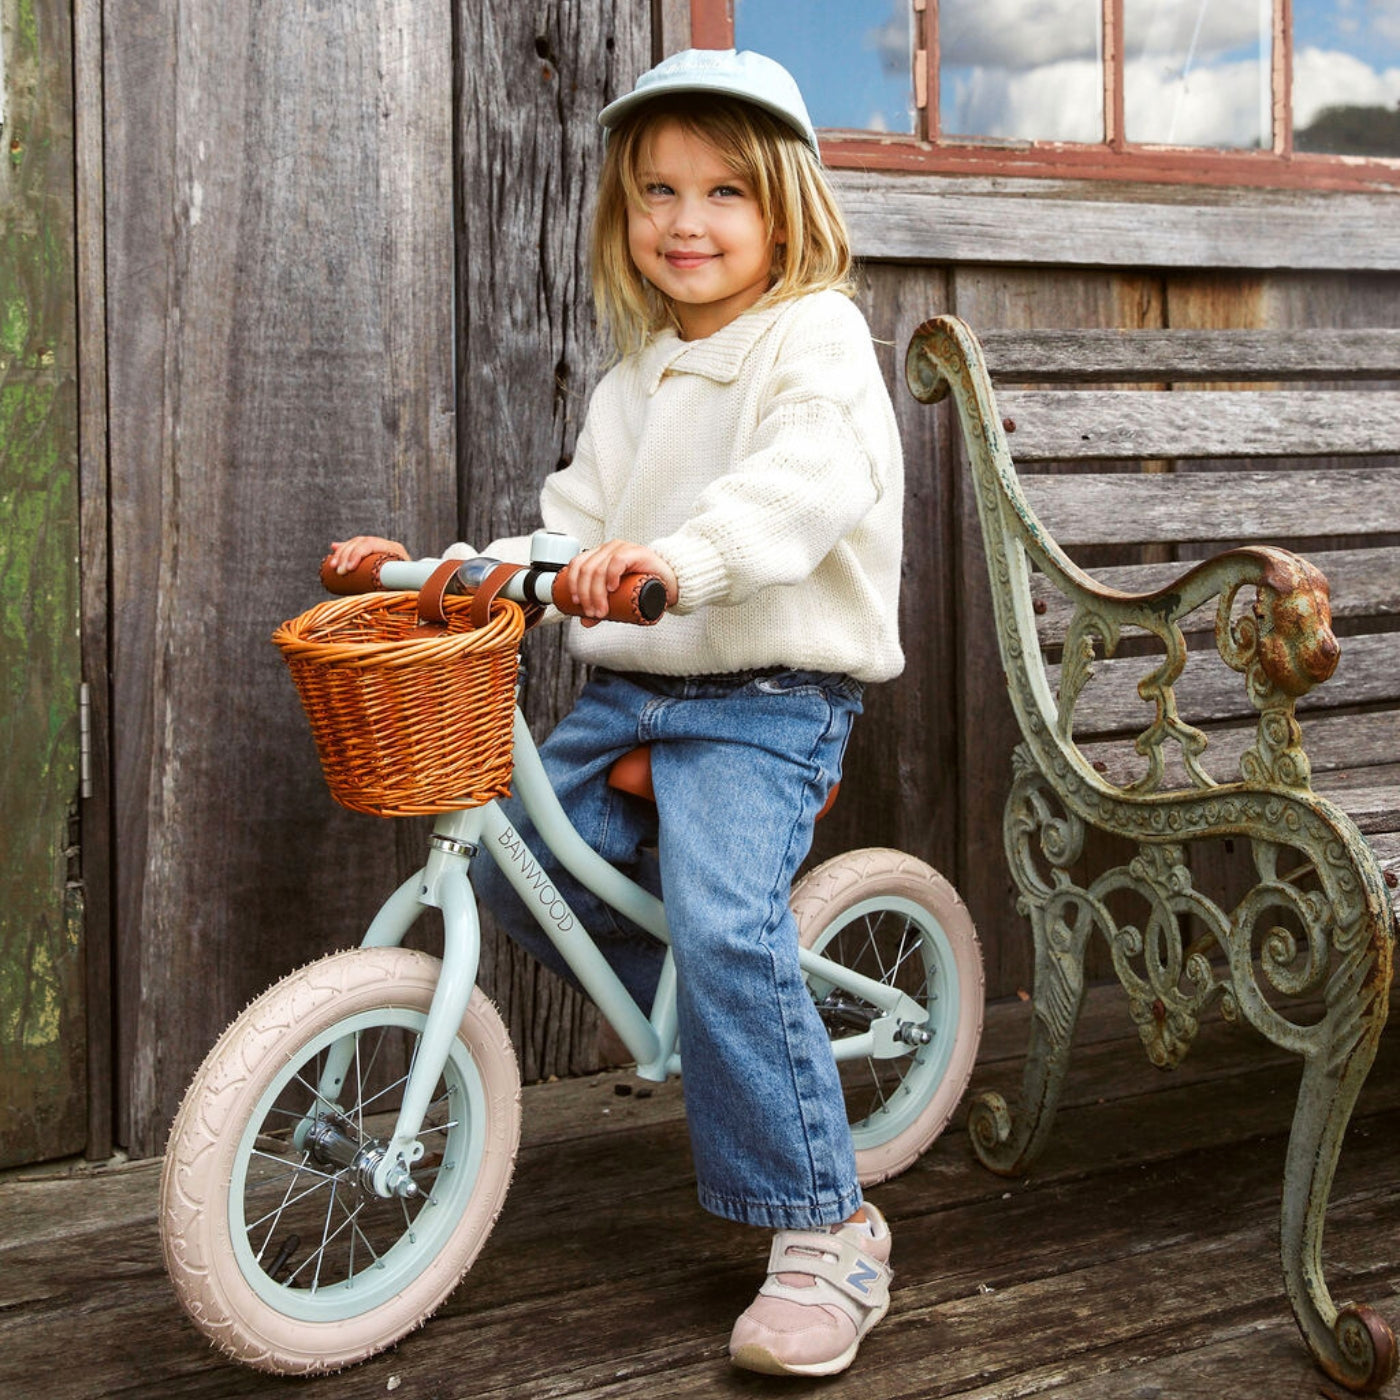
Saddle height is the single biggest factor in whether your child enjoys riding. Get it right.
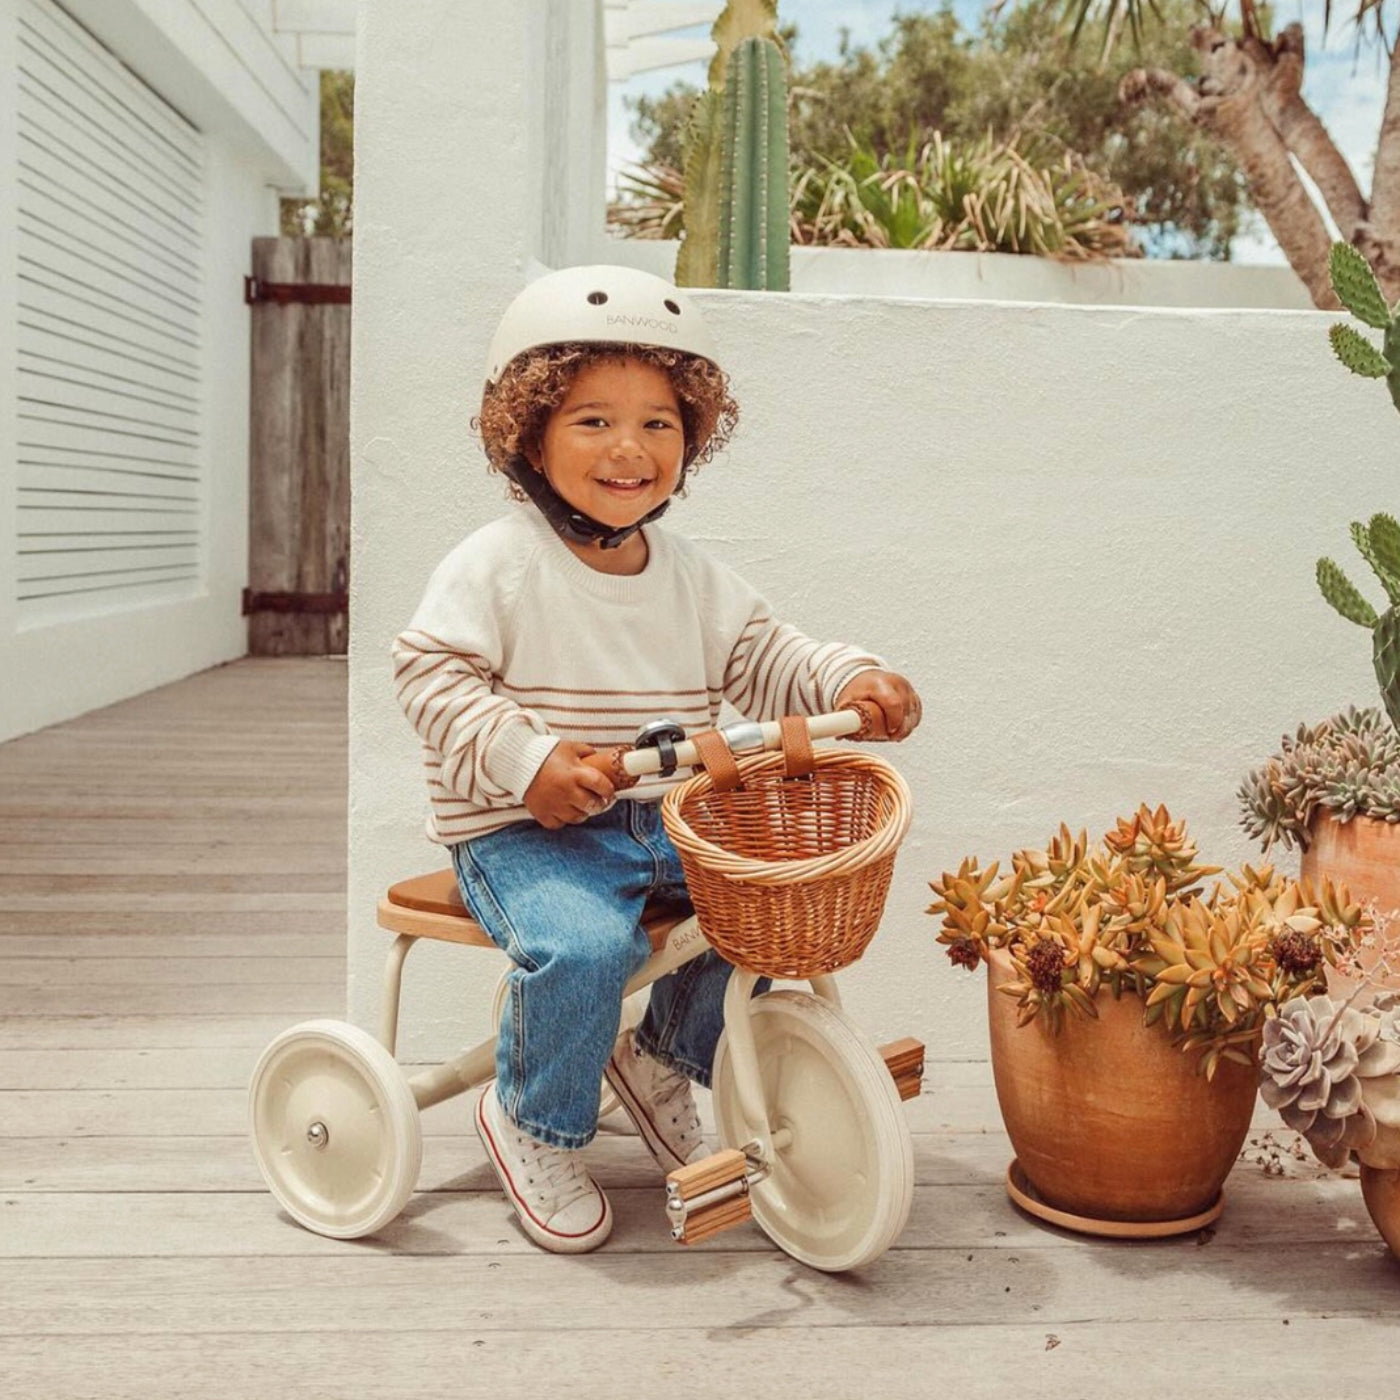
For learning (first 2-4 weeks)
- Both feet flat on the ground.
- Knees slightly bent.
- Goal: confidence, not efficiency.
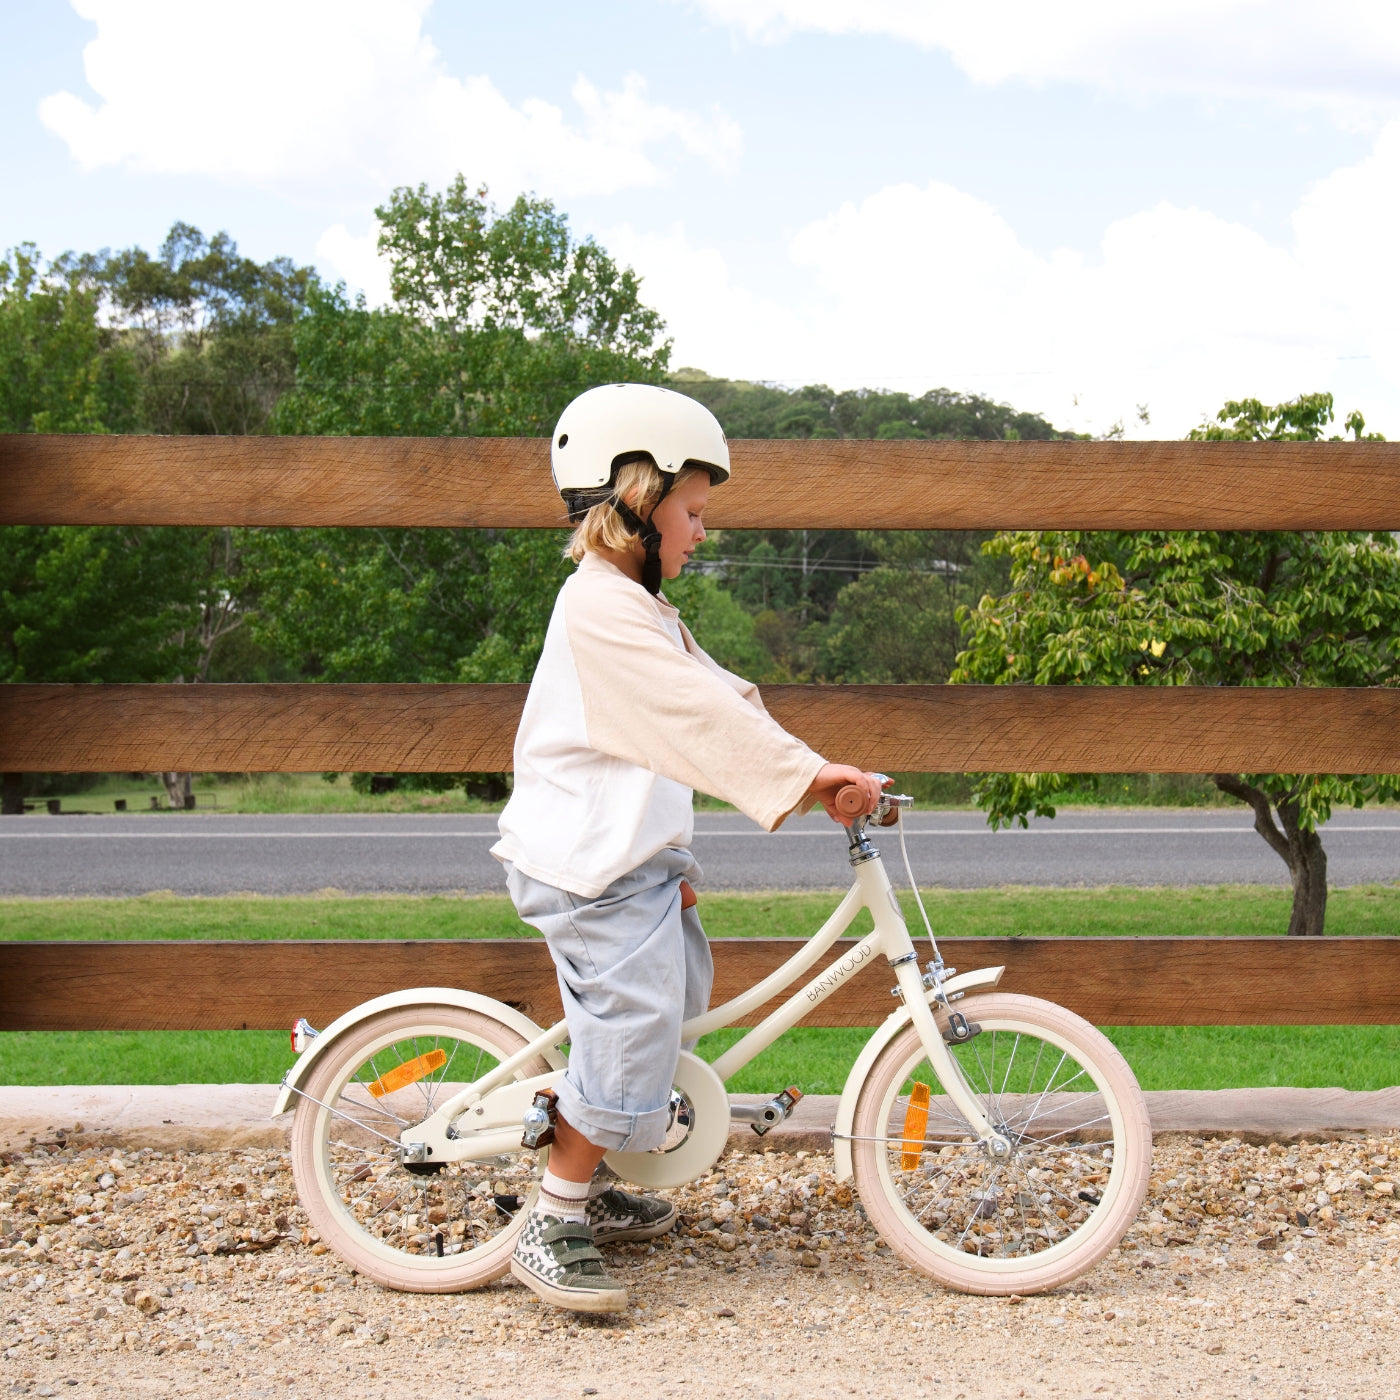
For confident riding
- Heel of foot reaches the pedal at the lowest point.
- When pedalling normally (ball of foot on pedal), there's a 25-degree bend at the bottom of the stroke.
- Toes still touch the ground when stopped.
How to adjust
- Loosen the seatpost clamp (4mm or 5mm Allen key, depending on bike).
- Lift or lower the saddle.
- Tighten the clamp firmly. Should not rotate by hand.
- Check the saddle is straight (nose pointing forward).
Common mistake: seatpost goes too high. Most kids' bikes have a "minimum insert" mark on the seatpost. Never raise the saddle above this line — the seatpost will break or bend.
Handlebar height and angle
Most kids' bikes don't need handlebar adjustment beyond what comes from the factory. But check the brake levers are at a comfortable angle for small wrists. Too far forward = hands slip off. Too high = wrists crank.
Brake lever position and reach
Small hands struggle with adult-sized brake levers. Adjust:
Reach (how far from the grip)
Most modern brake levers have a reach adjustment screw — usually a small Phillips screw on the lever body. Turn clockwise to bring the lever closer to the grip. Goal: child can pull the lever with the first knuckle of their fingers, not the fingertips.
Lever angle
Loosen the clamp on the handlebar (don't fully remove). Rotate the lever down so the fingers naturally fall onto it. Tighten.
Cable tension
Squeeze the lever. The pad should hit the rim before the lever touches the grip. If the lever bottoms out without braking — adjust the cable tension at the brake calliper (tighten the barrel adjuster).
Tire pressure
Most parents inflate kids' tires too much. Then the ride feels harsh and grip suffers.
| Bike model | Recommended PSI |
|---|---|
| Banwood First Go (12") | 30-40 PSI |
| Banwood Classic 14" | 40-50 PSI |
| Banwood Classic 16" | 40-50 PSI |
| Banwood Classic 20" | 45-55 PSI |
| Banwood Classic 24" | 50-60 PSI |
Always check the sidewall of the tire — manufacturer's recommended pressure is printed there. Use the lower end of the range for younger/lighter kids.
Chain tension and lubrication
Chain tension
A pedal bike's chain should have ~1 cm of vertical play at the midpoint between the chainring and rear cog. If looser, the chain might fall off; if tighter, pedaling is stiff.
Lubrication
Once a month (more often if riding in wet weather):
- Wipe the chain with a clean rag.
- Apply 1-2 drops of bike chain lube to each link.
- Pedal backwards 20 rotations.
- Wipe off excess.
Don't use WD-40 as a chain lube — it's a degreaser. Use proper bike chain lube (€5-10 for a small bottle).
Quick monthly check (5 minutes)
- Saddle clamp tight? (Push down hard on saddle nose; should not move.)
- Stem clamp tight? (Try to twist handlebars relative to front wheel; should not move.)
- Wheel quick-releases or axle nuts tight? (Lift bike, spin wheels — they should not wobble laterally.)
- Brakes work? (Squeeze each lever; pads should engage firmly before lever touches grip.)
- Tires inflated? (Press with thumb; should feel firm, not squashy.)
- Chain visibly clean? (If black/gritty, clean and lube.)
Read next
Free EU shipping over €100 · 14-day returns · 2-year warranty.
